


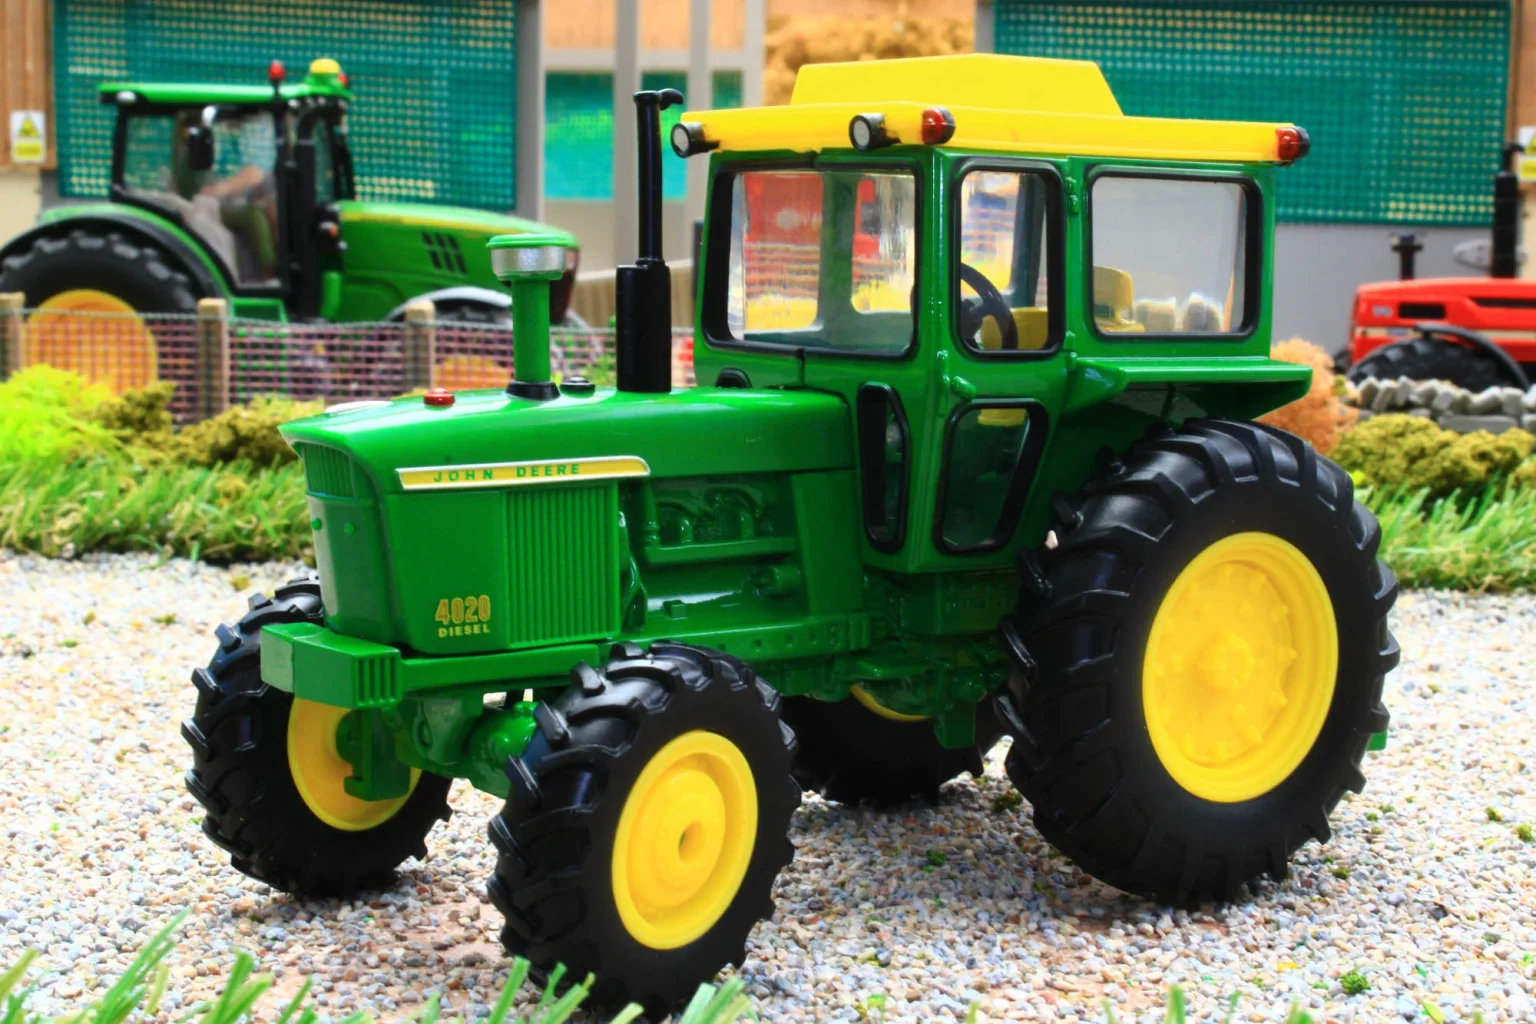
The John Deere 4020 is a legendary tractor that revolutionized farms in the 1960s and 70s. Its durability is why thousands are still at work today. However, even the most reliable classics develop age-related issues. Ignoring them can lead to costly downtime and major repairs.
- John Deere 4020 Won’t Start? Common Electrical Causes
- My John Deere 4020 Has Weak or No Hydraulics
- The 4020 Diesel Runs Rough or Loses Power
- John Deere 4020 Transmission Problems: Stuck or Hard to Shift
- Why is a JD 4020 Overheating?
- JD 4020 PTO Won’t Engage or Is Slipping
- Fixing John Deere 4020 Power Steering That’s Hard or Leaks
- 4020 Model Brakes Are Weak or Dragging
- The Tractor Battery Won’t Stay Charged (Generator Issues)
- Dealing with Oil Leaks on a John Deere 4020 Engine
This guide cuts through the guesswork to reveal the top 10 most common John Deere 4020 problems that owners face. From stubborn starting woes and fading hydraulics to critical fuel system failures, we detail the symptoms, root causes, and practical solutions.
Whether you’re troubleshooting a current issue or performing preventative maintenance, this article will equip you with the knowledge to keep your 4020 running strong for another season. Let’s diagnose the weak points of this icon.
John Deere 4020 Won’t Start? Common Electrical Causes
Few things are more frustrating than a silent tractor. When your John Deere 4020 refuses to crank, the electrical system is the prime suspect. This vintage workhorse relies on a relatively simple but now aging 12-volt circuit. Diagnosis starts with the basics: battery condition, cable connections, and the integrity of the ground strap. A weak battery or corroded terminals are incredibly common culprits, especially on a machine that may sit unused for periods.
Moving through the system, the starter solenoid is a frequent failure point. You might hear a definitive “click” when turning the key, but the starter motor doesn’t engage. This often points directly to a faulty solenoid that isn’t completing the high-current circuit to the starter motor itself. Testing for power at the solenoid’s input and output terminals with a multimeter can confirm this.
Another critical component is the neutral start safety switch. This switch prevents the engine from cranking unless the transmission is in neutral or the clutch is depressed. Over decades, these switches can fail or become misadjusted. If your tractor has no electrical response at all—no lights, no click—check for power through this switch. Bypassing it temporarily for testing can quickly tell you if it’s the problem.
Don’t overlook the starter motor itself. Brushes can wear out, the commutator can get dirty, or the internal windings can fail. Sometimes, a starter will draw excessive amperage, turning slowly or not at all, which can also indicate internal issues. A bench test at an auto electric shop is the best diagnosis. Finally, always inspect the wiring harness, especially where it passes near heat or moving parts, as frayed or broken wires can interrupt the circuit.
My John Deere 4020 Has Weak or No Hydraulics
Weak or failed hydraulics cripple your tractor’s most useful functions, from the three-point hitch to the loader. The first and most common suspect is the hydraulic fluid itself. Check the level immediately using the dipstick under the seat. Old, contaminated, or the wrong type of fluid can cause major performance issues and internal damage.
A failing hydraulic pump is a primary cause of complete power loss. Listen for a loud whining or groaning noise from the pump area when the system is engaged. This often signals internal wear or cavitation due to low fluid or a clogged intake screen. Pressure testing the pump’s output is the definitive way to confirm its health.
Don’t ignore the hydraulic system’s internal filter and intake screen. Located in the transmission sump, this fine mesh screen can become clogged with decades of sludge and metal particles. A clogged screen starves the pump, leading to weak performance and eventual failure. Cleaning this screen is a critical, though involved, maintenance task.
Problems can also lie in the system’s control valves or internal leaks. Worn seals and O-rings in the hydraulic cylinders or control valve allow pressure to bypass internally. You might see the three-point hitch slowly “droop” or a loader cylinder drift down under load. Diagnosing these leaks often requires isolating different parts of the circuit.
The 4020 Diesel Runs Rough or Loses Power
A rough-running John Deere 4020 that lacks its legendary power is often suffering from fuel system issues. The first and simplest check is the fuel filters. Clogged filters are a primary cause of power loss, as they starve the injection pump of fuel. Replace both the primary and secondary filters as a standard maintenance step.
The heart of the problem is frequently the Stanadyne/Roosa Master rotary injection pump. Internal wear, a stuck advance mechanism, or a failing transfer pump inside the unit can cause rough idle, low power, and excessive smoke. Contaminated fuel accelerates this wear. A professional pump rebuild or recalibration is usually required.
Faulty injectors are the next major culprit. A stuck, dripping, or poorly spraying injector leads to incomplete combustion, misfiring, and black or white smoke. You can often identify a bad injector by feeling the temperature of each exhaust manifold port; a cooler one indicates that cylinder isn’t firing properly.
Don’t overlook airflow and compression. A clogged air cleaner restricts oxygen, causing black smoke and power loss. Additionally, worn piston rings, valves, or a leaking head gasket can cause low compression, making the engine hard to start, smoky, and weak. A simple compression test can rule out these major mechanical issues.
John Deere 4020 Transmission Problems: Stuck or Hard to Shift
Difficulty shifting gears on your 4020 is a common and frustrating issue, often rooted in the clutch or linkage. The first area to inspect is the mechanical clutch linkage itself. Over decades, bushings wear out, rods bend, and pivots seize, preventing full clutch disengagement. This makes gears grind and shifting nearly impossible. A thorough lubrication and adjustment of this linkage is the essential first step.
The problem may lie with the clutch components inside the housing. A worn or warped clutch disc won’t fully release from the flywheel, causing constant drag. A failing clutch release bearing can also create noise and impede proper operation. Adjusting the free-play at the clutch pedal is crucial; too little free-play keeps the clutch partially engaged, leading to grinding and rapid wear.
For tractors with the Syncro-Range transmission, internal synchronizer issues are a known culprit. These brass synchronizer rings wear down over time, losing their ability to match gear speeds for a smooth shift. This typically causes grinding between specific gears, like between 3rd and 4th, even with a perfectly adjusted clutch.
Finally, always check the transmission fluid level and condition. Low or degraded fluid can affect the lubrication of internal components and shift rails, making them sticky. In severe cases, a bent shift fork or worn gears inside the transmission case can cause physical binding, requiring a major teardown for repair. Start with linkage adjustment before assuming the worst.
Why is a JD 4020 Overheating?
An overheating 4020 is a serious issue that can quickly lead to a cracked head or blown head gasket. The most common and easily fixed cause is a clogged radiator core. Decades of dust, chaff, and debris act like insulation, trapping heat. Visually inspect the front and use compressed air or a pressure washer (carefully) to blow debris out from the engine side towards the front.
Cooling system obstructions internally are just as critical. Scale, rust, and old coolant can build up inside the radiator tubes and the engine block’s water jackets, drastically reducing cooling efficiency. A thorough chemical flush of the system, followed by refilling with a proper water/coolant mix, is often necessary. Neglected coolant also causes the water pump impeller to corrode and fail.
Speaking of the water pump, a failing unit is a prime suspect. Check for coolant leaks from the weep hole underneath the pump. More subtly, the plastic impeller can corrode or slip on its shaft, reducing coolant circulation even without a visible leak. Replacing the water pump and thermostat as a pair is a reliable preventative maintenance step.
Don’t ignore engine-related causes. A retarded injection timing or a lean fuel condition (from air leaks or a failing injection pump) makes the engine run hotter. Additionally, a blown head gasket leaking combustion gases into the cooling system will cause violent overheating and bubbles in the radiator. A professional pressure test or “block test” can confirm this worst-case scenario.
JD 4020 PTO Won’t Engage or Is Slipping
A malfunctioning Power Take-Off (PTO) renders your 4020 unable to run essential implements. When the PTO won’t engage, the first check is the mechanical engagement lever and its linkage. The linkage can become bent, worn, or out of adjustment over time, preventing the internal clutch pack from being fully applied. This is a common and often simple fix.
If the lever feels correct but the PTO still slips or won’t turn, the problem is almost certainly internal. The 4020 uses an independent hydraulic wet-clutch pack located inside the transmission case. The most frequent cause of failure is worn clutch discs. These fiber discs wear down with use, losing their grip and causing the PTO to slip under load, often accompanied by a burning smell.
The hydraulic pressure that activates this clutch is critical. A leak in the internal PTO clutch piston seals or a worn pressure relief valve will prevent the system from building enough pressure to fully engage the clutch. This results in either no engagement or immediate slipping. Testing the hydraulic pressure at the PTO test port is the definitive diagnostic step.
Finally, don’t overlook the simpler external causes. A badly worn or damaged implement drive shaft (the “PTO shaft”) that is binding can create excessive load. Also, ensure you are operating at the recommended engine RPM for PTO engagement; too low of an RPM will not generate sufficient hydraulic pressure for a positive engagement. Always start with linkage adjustment before assuming an internal failure.
Fixing John Deere 4020 Power Steering That’s Hard or Leaks
Stiff or leaking power steering on your 4020 makes fieldwork exhausting and messy. The first step is always to check the hydraulic fluid level and condition, as the steering shares fluid with the main hydraulic system. Low or degraded fluid is a common culprit for both poor performance and leaks throughout the system.
If the fluid is good, the most frequent cause of hard steering is air in the system or a failing priority valve. The priority valve is designed to send oil to the steering first, but when it wears or sticks, it starves the steering cylinder. You may also hear a groaning pump. Rebuilding or replacing this valve often restores easy steering.
External leaks are most visible at the steering cylinder itself. Worn rod seals allow fluid to seep out where the piston rod enters the cylinder body, especially when turning. Replacing these seals requires removing and disassembling the cylinder. Leaks can also originate at hose connections or the steering control unit (the “orbitrol”).
For persistent hard steering with no leaks, the problem may be internal wear in the steering control unit or binding in the mechanical linkage. The drag link and kingpins in the front axle should be checked for stiffness, as manual resistance will make the power assist feel inadequate. Diagnose by disconnecting the drag link; if the steering wheel still turns hard, the issue is in the control unit or its supply.
4020 Model Brakes Are Weak or Dragging
Weak or dragging brakes on your 4020 are a major safety concern and a common issue. The 4020 uses wet disc brakes bathed in hydraulic oil from the transmission case. For weak brakes, the first check is the brake pedal free-play adjustment located under the platform. Too much free-play prevents the brakes from fully applying, resulting in a soft pedal and poor stopping power.
If adjustment doesn’t help, the problem is likely internal. The most common cause of weak brakes is worn brake discs. These steel plates and friction discs wear thin over decades, reducing clamping force. Contaminated oil—filled with metal particles or moisture—can also glaze the friction discs, causing them to slip. A complete brake job requires splitting the tractor to replace the discs and seals.
Dragging brakes, where the tractor pulls to one side or feels held back, point to a different failure. The return springs inside the brake housing can break or lose tension, failing to pull the pistons back. More commonly, the piston seals harden with age or the brake actuating pin seizes in its bore, preventing the brake from fully releasing.
Always check for contaminated or low transmission/hydraulic fluid, as the brakes share this oil. In severe cases, a warped pressure plate behind the brake pack can cause constant drag. Addressing brake issues typically involves removing the final drive housing, so proper diagnosis is key before starting this significant repair.
The Tractor Battery Won’t Stay Charged (Generator Issues)
A battery that won’t stay charged on your 4020 typically points to a failing generator or its voltage regulator, not a modern alternator. The first diagnostic step is simple: with the engine running at mid-throttle, use a multimeter across the battery terminals. You should see a charging voltage between 13.8 and 14.4 volts. A reading at or below 12.6 volts confirms the system isn’t charging.
The generator itself is a common failure point. Brushes inside can wear down to nubs, preventing contact with the armature. The commutator on the armature can also become dirty, pitted, or worn, interrupting current flow. A quick test is to “motor” the generator by applying 12 volts directly to its output terminal (with the belt off); if it doesn’t spin smoothly, it needs a rebuild.
The separate voltage regulator mounted on the firewall is equally suspect. This mechanical unit uses contact points that can burn, corrode, or stick over time. A faulty regulator can fail to energize the generator’s field circuit, provide no voltage regulation (cooking the battery), or simply not complete the charging circuit. Tapping it lightly while the engine runs can sometimes temporarily free stuck points, indicating it needs replacement.
Don’t overlook the wiring. Corroded connections at the generator terminals (‘A’ for Armature, ‘F’ for Field), the regulator, or the ammeter can break the circuit. Also, ensure the generator drive belt is tight; a slipping belt will cause weak or intermittent charging. Unlike modern one-wire alternators, this system requires proper polarization of the generator after any service to prevent immediate damage.
Dealing with Oil Leaks on a John Deere 4020 Engine
Oil leaks on a 4020 are almost a rite of passage, but they can be managed. Start by thoroughly cleaning the engine, then run it to identify the exact leak source. Common spots are the rear main seal, front crankshaft seal, rocker cover gasket, and the oil pan. Pinpointing the origin is crucial, as oil can travel along surfaces, making a front seal leak appear to come from the rear.
The rear main seal is a frequent and significant leak. If oil drips steadily from the bellhousing drain hole or between the engine and transmission, this is the likely culprit. Replacement requires splitting the tractor—a major job. Before committing, rule out a clogged engine breather; excessive crankcase pressure can force oil past any seal.
More accessible leaks come from the rocker cover and valley cover gaskets. Leaks here often run down the sides of the engine block. The oil pan gasket is another common source, especially at the corners. Replacing these gaskets is straightforward but requires careful cleaning and torqueing. Use proper gasket sealant as specified.
Don’t overlook other sources: the fuel transfer pump on the side of the engine has a diaphragm that can fail, leaking fuel or oil. Also, check the oil gallery plugs on the side of the block and the oil pressure sending unit. While persistent leaks are frustrating, systematically addressing them from top to bottom can keep your 4020’s undercarriage much cleaner.
Last Words
Owning a John Deere 4020 is a rewarding commitment to a piece of agricultural history. While these common problems are a reality of its age and legendary service, none are insurmountable. With systematic diagnosis, starting with the simplest solutions first, you can keep this iconic tractor running reliably for years to come.
Remember, regular maintenance is the best preventative medicine. For more detailed answers, explore our comprehensive John Deere 4020 FAQ page, featuring over 100 questions and answers from owners and mechanics.